 Featured
  Bestseller
  Verified
  New
New  ASP.NET
  Adonis
  Angular
  Astro
Astro  Django
  Express
  Fastify
  Flask
Flask  Flutter
  Free
Free  Go
Go  Ionic
Ionic  Java
Java  JavaScript
  Jetpack Compose
  Kotlin
  Laravel
  Next.js
  Nuxt
Nuxt  Phoenix
  Plasmo
  Python
  React
React  React Native
  Remix
Remix  Ruby on Rails
  Rust
Rust  SvelteKit
  Swift
Swift  Symfony
  Wasp
Wasp  2checkout
  BagelPay
  Braintree
  Chargebee
  Creem
Creem  DodoPayments
  LemonSqueezy
  Paddle
  PayPal
  PayU
PayU  Polar
Polar  Stripe
 How to Build Pay-as-You-Go Pricing with Stripe
Learn how to implement pay-as-you-go pricing with Stripe, including setup, usage tracking, and automated billing for SaaS businesses.

Pay-as-you-go (PAYG) pricing is a flexible billing model where customers pay based on their actual usage. It’s increasingly popular among SaaS businesses, with 21% of Inc. 5000 SaaS companies adopting it and achieving 29.9% annual revenue growth. Stripe simplifies PAYG with tools like its Meters API, which tracks usage and ensures accurate billing. Here’s a quick overview of how to set it up:
- Stripe Setup: Create a Stripe account, get API keys, and configure products with usage-based pricing.
- Usage Tracking: Build a system to monitor metrics like API calls, storage, or bandwidth, and connect it to Stripe’s Usage API.
- Metered Subscriptions: Define billing cycles, aggregation methods, and pricing strategies (e.g. per unit, tiered).
- Automated Billing: Use Stripe’s invoicing and payment tools to streamline collections and reduce errors.
- Testing & Analysis: Validate your setup, analyse usage data, and adjust pricing based on trends and customer feedback.
PAYG benefits both businesses (revenue grows with usage) and customers (pay only for what they use). Stripe’s tools make implementation easier, and pre-built SaaS boilerplates can save development time. Start with Stripe’s test mode to experiment before going live.
Initial Stripe Setup
Setting Up Your Stripe Account
Getting started with Stripe’s pay-as-you-go pricing is simple. First, sign up on Stripe and use test mode to experiment with pricing configurations without processing real transactions.
You’ll need two key components:
- API Keys: Find these in the Dashboard under the Developers section. They are split into test and live keys for security and functionality.
- Account Verification: Complete your business profile by providing the required documentation.
Note: Keep your test and live keys separate. This is important especially when integrating through the API for automated pricing updates.
Creating Products and Pricing
To set up your product offerings, navigate to the Product Catalogue in the Dashboard under the More section.
For usage-based pricing, follow these steps:
1. Create Your Product
Define key details like:
- Product Name: What your product or service is called.
- Description: A brief overview of the product.
- Unit Label: For instance, “API calls” or “Storage GB”.
- Tax Codes: Add if applicable.
- Statement Descriptor: How the product appears on customer billing statements.
2. Configure Usage-Based Pricing
Set up pricing details for usage-based services, such as:
| Pricing Component | Description | Example Usage |
|---|---|---|
| Unit Price | Cost per usage unit | $0.001 per API call |
| Billing Period | Timeframe for usage calculation | Monthly/Annual |
| Aggregation Method | How usage is calculated | Sum, Maximum, or Last value |
| Currency | Billing currency | USD ($) |
3. Define Usage Conditions
Add specific conditions to your pricing model, including:
- Minimum usage thresholds
- Usage caps
- Volume discounts
- Handling multiple currencies
Stripe allows you to set multiple price points for a single product, making it easy to offer different tiers or currencies. If your pricing model is more complex, consider using Stripe’s API for added flexibility and automation.
Finally, test your pricing thoroughly. Simulate usage scenarios to ensure your setup works as intended without affecting live customers. Once that’s done, you’re ready to move on to tracking usage for your pay-as-you-go pricing model.
Usage Tracking Setup
Building a Usage Tracker
To manage pay-as-you-go billing effectively, you need a system that keeps a precise record of usage. This system should handle both raw events and pre-aggregated data, ensuring accurate billing results.
Your tracker should focus on metrics that align with your service. For instance:
| Usage Type | Metric | Example Measurement |
|---|---|---|
| API Calls | Request count | Per 1,000 calls |
| Storage | Data volume | Per GB |
| Compute Time | Processing duration | Per millisecond |
| Bandwidth | Data transfer | Per GB transferred |
When setting up your tracker, prioritise these key components:
- Event Collection System
Create a reliable pipeline for capturing real-time usage data. Make sure it can handle large volumes without slowing down. - Data Aggregation Layer
Develop a system to group raw usage data based on your billing rules. For example, Trigger.dev uses OpenMeter for precise compute billing down to the millisecond, which integrates smoothly with Stripe. - Error Handling and Validation
Build error-handling mechanisms for issues like duplicate or missing data. Link this process to Stripe’s Usage API to automate billing updates.
Once your tracker is set up to aggregate data accurately, connect it to Stripe’s Usage API to streamline billing.
Connecting to Stripe’s Usage API
Integrating with Stripe’s Usage API ensures accurate, automated billing. Here’s how to do it:
-
Configure Your Meter
Define your meter in Stripe by specifying key details such as the event name, ingestion method (raw or pre-aggregated), aggregation formula (e.g., sum or count), and customer identification keys. -
Usage Recording
When sending usage data to Stripe’s API, ensure the following:- Events are submitted within the current billing period.
- Timestamps are accurate and not set in the future.
- Usage is correctly linked to customer IDs.
- Asynchronous processing is handled properly.
Keep in mind that Stripe processes meter events asynchronously, so recent events may not immediately appear in usage summaries or invoices.
Stripe provides methods for correcting errors:
| Correction Method | Timeframe | Use Case |
|---|---|---|
| Meter Event Adjustment | Within 24 hours | Cancel specific events |
| Negative Quantities | Any time | Offset incorrect usage |
For example, Requestly automated its API billing using OpenMeter, connected directly with Stripe for invoice generation, and eliminated manual calculations.
Note: Usage event timestamps must fall within the current billing cycle and cannot be set for a future date.
Billing System Development
Setting Up Metered Subscriptions
To configure metered subscriptions in Stripe, you’ll need to define key elements like the event aggregation method (e.g., sum or count), the event name, customer identification keys, and the billing cycle parameters.
For example, if you’re charging by the hour but tracking usage in minutes, make sure to convert the tracked minutes into hours by dividing by 60 and rounding up before calculating the price.
| Pricing Strategy | Use Case | Implementation |
|---|---|---|
| Per Unit | Simple usage tracking | Direct price per unit |
| Package-based | Bundled services | Price per specified units |
| Tiered Volume | Volume discounts | Different rates by usage level |
| Graduated | Progressive pricing | Rates increase with usage |
Managing Plan Changes
To handle plan changes like upgrades, downgrades, or price adjustments, use Stripe’s Subscription Schedules API. This allows you to schedule updates for a future date, ensuring smooth transitions for customers.
Key steps to manage plan changes:
- Save both the subscription and schedule IDs for API updates.
- Preview upcoming invoices before applying changes to avoid surprises.
- Adjust proration settings to align with your billing rules.
- Clearly communicate your proration policy to customers to maintain transparency.
Once you’ve set this up, integrating automated invoicing will streamline your billing process.
”Stripe Billing is a tool for managing subscriptions and invoicing. It automates recurring payments, creates custom pricing plans, and handles billing cycles such as trials and renewals.” – Stripe
Invoice and Payment Systems
Automate your invoicing and payment collection using Stripe’s Invoicing API. Set the collection_method to send_invoice, enable Smart Retries, and implement webhook listeners for events like invoice.paid, payment_intent.processing, and invoice.payment_failed. Always send email receipts for successful payments.
Smart Retries leverages machine learning to optimise the timing of payment retries, helping you recover more revenue. Pair this with automated reminder emails to reduce the need for manual follow-up and ensure a smoother payment collection process.

Testing and Improvement
System Testing
Ensure your usage tracking and billing workflows are functioning correctly by implementing thorough validation. Automated tests can help verify the billing pipeline efficiently. Tools like Inflectra’s SpiraTest or SmartBear’s SoapUI are excellent choices for this purpose, offering robust solutions for testing your integration.
| Testing Phase | Key Focus Areas | Recommended Tools |
|---|---|---|
| Usage Tracking | Accuracy of event recording | JMeter, Gatling |
| Billing Logic | Price calculation accuracy | SoapUI, Selenium |
| Integration | API endpoint validation | Postman, Apache JServ |
Make sure to develop test cases that cover both standard and edge scenarios. For API calls, examine concurrent requests, tier thresholds, and how errors are managed. Once testing confirms that your tracking and billing systems are reliable, you can move on to analysing usage data to fine-tune your pricing strategy.
Usage Data Analysis
Stripe’s analytics tools provide valuable insights into customer behaviour and billing trends. Use these insights to better understand your usage data and make informed decisions.
To get the most out of your data:
- Create tailored reports that focus on specific business metrics.
- Observe seasonal usage trends to anticipate demand.
- Segment customers based on how frequently they transact.
- Identify peak usage times to allocate resources effectively.
Pricing Adjustments
If you discover errors in event recording during the current billing period, Stripe’s Meter Event Adjustment feature allows you to correct those issues.
For a more strategic approach to pricing:
-
Data-Driven Analysis Examine usage trends across different customer groups to uncover opportunities for pricing changes. Stripe’s real-time insights make it easier to act promptly on these findings.
-
Customer Feedback Integration Gather and evaluate customer feedback on pricing and usage limits to maintain a competitive edge.
-
Market Alignment Compare your pricing structure with industry standards. Take into account factors like:
- Competitor pricing models
- Industry norms
- Customer acquisition costs
- Operating expenses
These steps can help ensure your pricing remains competitive while meeting customer expectations.
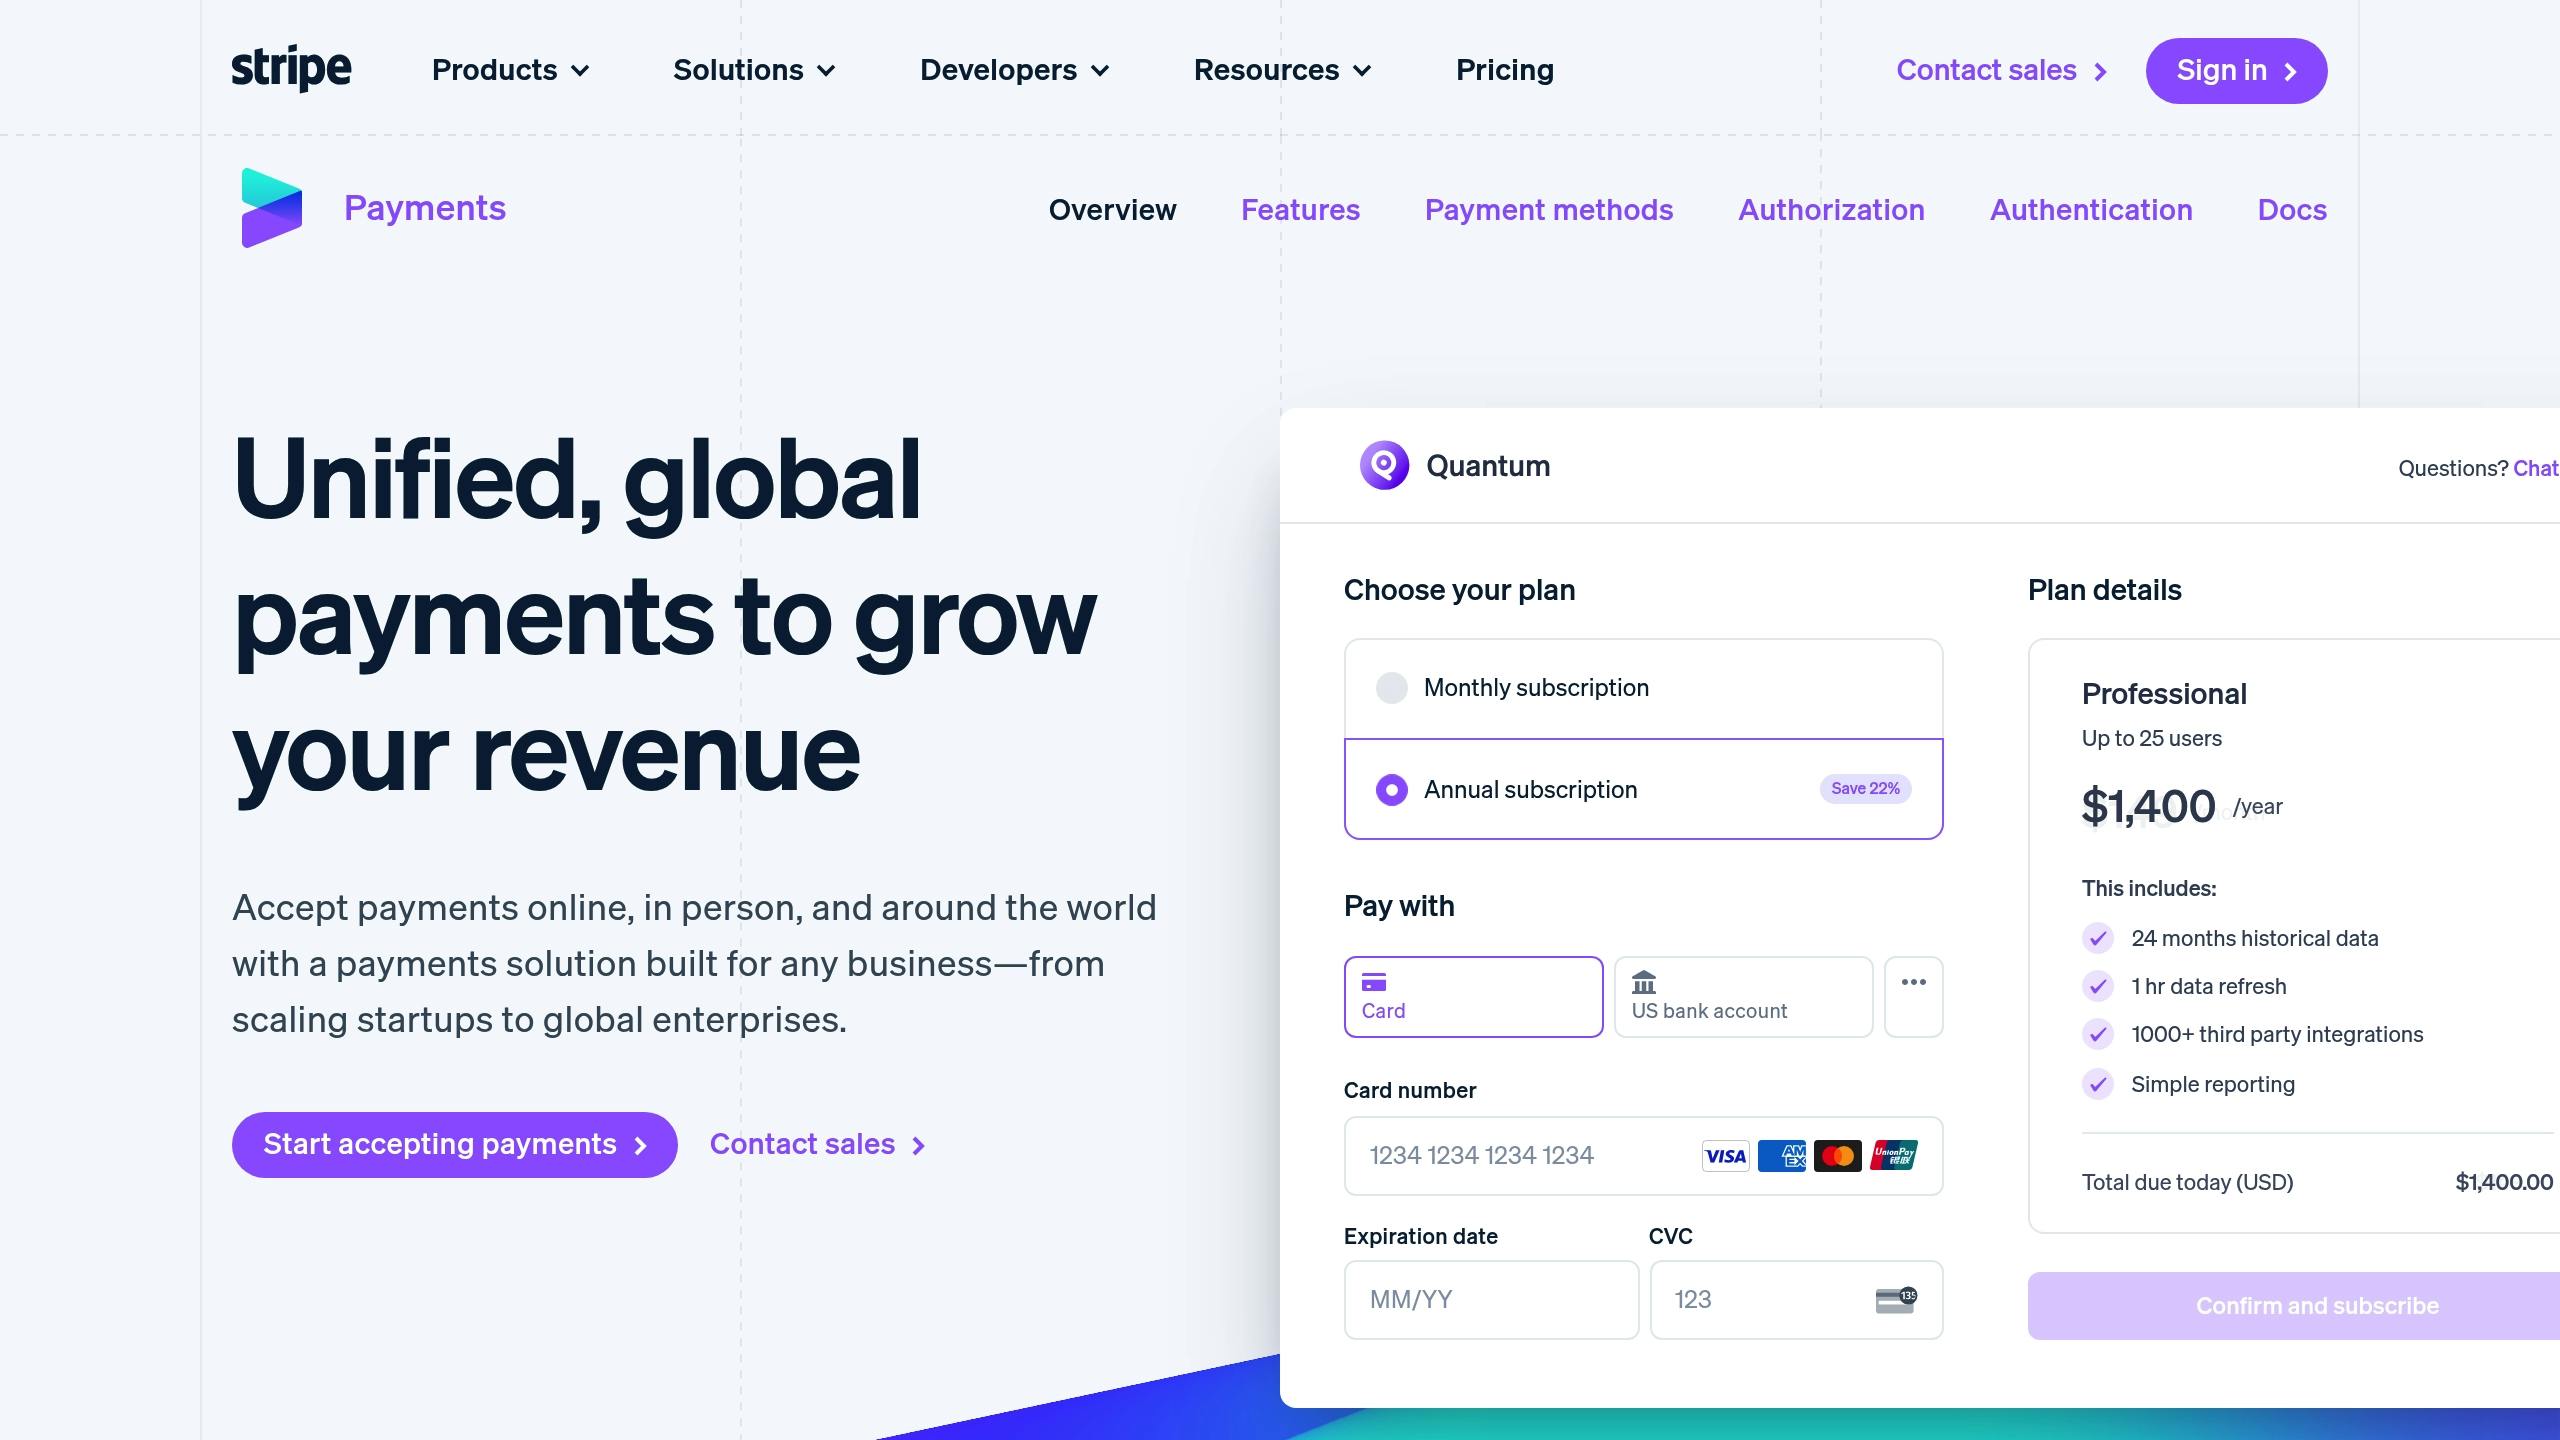
Variable amount pricing in Stripe Checkout
Using SaaS Boilerplates
If you’re looking to simplify your billing system, pre-built SaaS boilerplates can provide ready-to-use solutions.
Why Use Boilerplates?
Pre-built SaaS boilerplates can help you implement Stripe’s pay-as-you-go pricing more efficiently. They come with built-in tools for usage tracking, billing, and subscription management, saving you the effort of building these from scratch. In fact, using a boilerplate can save you over 74 hours of development time compared to creating these components yourself. These tools not only speed up implementation but also minimise potential errors in your billing system.
Recommended SaaS Boilerplate Tools
Here are some solid options for boilerplates that support Stripe’s metered billing:
-
SaaS Pegasus: This framework includes full Stripe integration with features for usage-based billing. It’s backed by an active development community and comes with detailed documentation, making it ideal for teams new to pay-as-you-go billing.
-
MakerKit (Pro Version): MakerKit’s pro version offers advanced Stripe integration, handling both standard subscriptions and metered billing. It includes pre-built components for usage tracking, subscription management, automated invoicing, and real-time usage monitoring.
-
ShipFast: Designed for scalability, ShipFast focuses on simplifying Stripe’s metered billing. It comes with ready-made tools to manage even complex billing scenarios.
When selecting a boilerplate, ensure it supports multiple payment processors, flexible billing models, and detailed usage tracking. Look for features like webhook handling and error recovery. You can also customise the usage tracking components to match your specific metrics while keeping the core billing system intact.
Conclusion
Stripe’s pay-as-you-go pricing offers a flexible billing approach tailored for SaaS businesses. With a standard rate of x% + y cents, this model lets businesses align charges with customer usage patterns, offering a competitive edge over industry norms.
For added stability, consider a hybrid pricing model that combines fixed subscriptions with usage-based components. If your monthly processing volume exceeds £10,000, Stripe also allows for custom pricing negotiations, potentially unlocking better rates. This approach balances predictable revenue with the adaptability customers value.
To simplify integration and automate billing, use pre-built SaaS boilerplates. These templates save development time while enabling accurate usage tracking and seamless invoicing. By combining these tools with metered billing and automated processes, your Stripe setup will align with your country’s regulations and deliver efficient, customer-focused billing.
Recommended SaaS Boilerplates
Apart from the ones mentioned above, here are some other great options that include Stripe integration with usage-based billing: