 Featured
  Bestseller
  Verified
  New
New  ASP.NET
  Adonis
  Angular
  Astro
Astro  Django
  Express
  Fastify
  Flask
Flask  Flutter
  Free
Free  Go
Go  Ionic
Ionic  Java
Java  JavaScript
  Jetpack Compose
  Kotlin
  Laravel
  Next.js
  Nuxt
Nuxt  Phoenix
  Plasmo
  Python
  React
React  React Native
  Remix
Remix  Ruby on Rails
  Rust
Rust  SvelteKit
  Swift
Swift  Symfony
  Wasp
Wasp  2checkout
  BagelPay
  Braintree
  Chargebee
  Creem
Creem  DodoPayments
  LemonSqueezy
  Paddle
  PayPal
  PayU
PayU  Polar
Polar  Stripe
 How to Test SaaS Apps Across Devices
Learn essential strategies for testing SaaS applications across devices to enhance user experience and ensure consistent performance.

Testing SaaS apps across devices ensures your product works well for all users. Here’s what you need to know:
- Why It Matters: Testing improves user experience, reduces bugs, and boosts customer retention.
- Challenges:
- Device fragmentation (too many devices to test).
- OS and browser differences.
- Screen size diversity.
- Performance inconsistencies.
- Solutions:
- Use a mix of physical devices and virtual tools.
- Focus on the most-used devices and browsers.
- Leverage tools like BrowserStack, LambdaTest, and Sauce Labs for efficient testing.
- Key Testing Steps:
- Define your device matrix (focus on popular devices and OS versions).
- Test UI consistency, performance, and input handling.
- Fix device-specific issues like layout breakage or touch input problems.
- Automate tests in your CI/CD pipeline for ongoing quality checks.
- Responsive Design Tips:
- Use CSS Grid and media queries for flexible layouts.
- Optimize touch targets for better usability.
Quick Comparison of Testing Methods:
| Method | Pros | Cons | Best For |
|---|---|---|---|
| Physical Devices | Real-world conditions, accurate results | Expensive, limited variety | Final QA, user experience |
| Virtual Tools | Budget-friendly, wide coverage | Limited hardware testing, inconsistencies | Early development, automation |
Testing across devices is essential for delivering a smooth, consistent experience for all users.
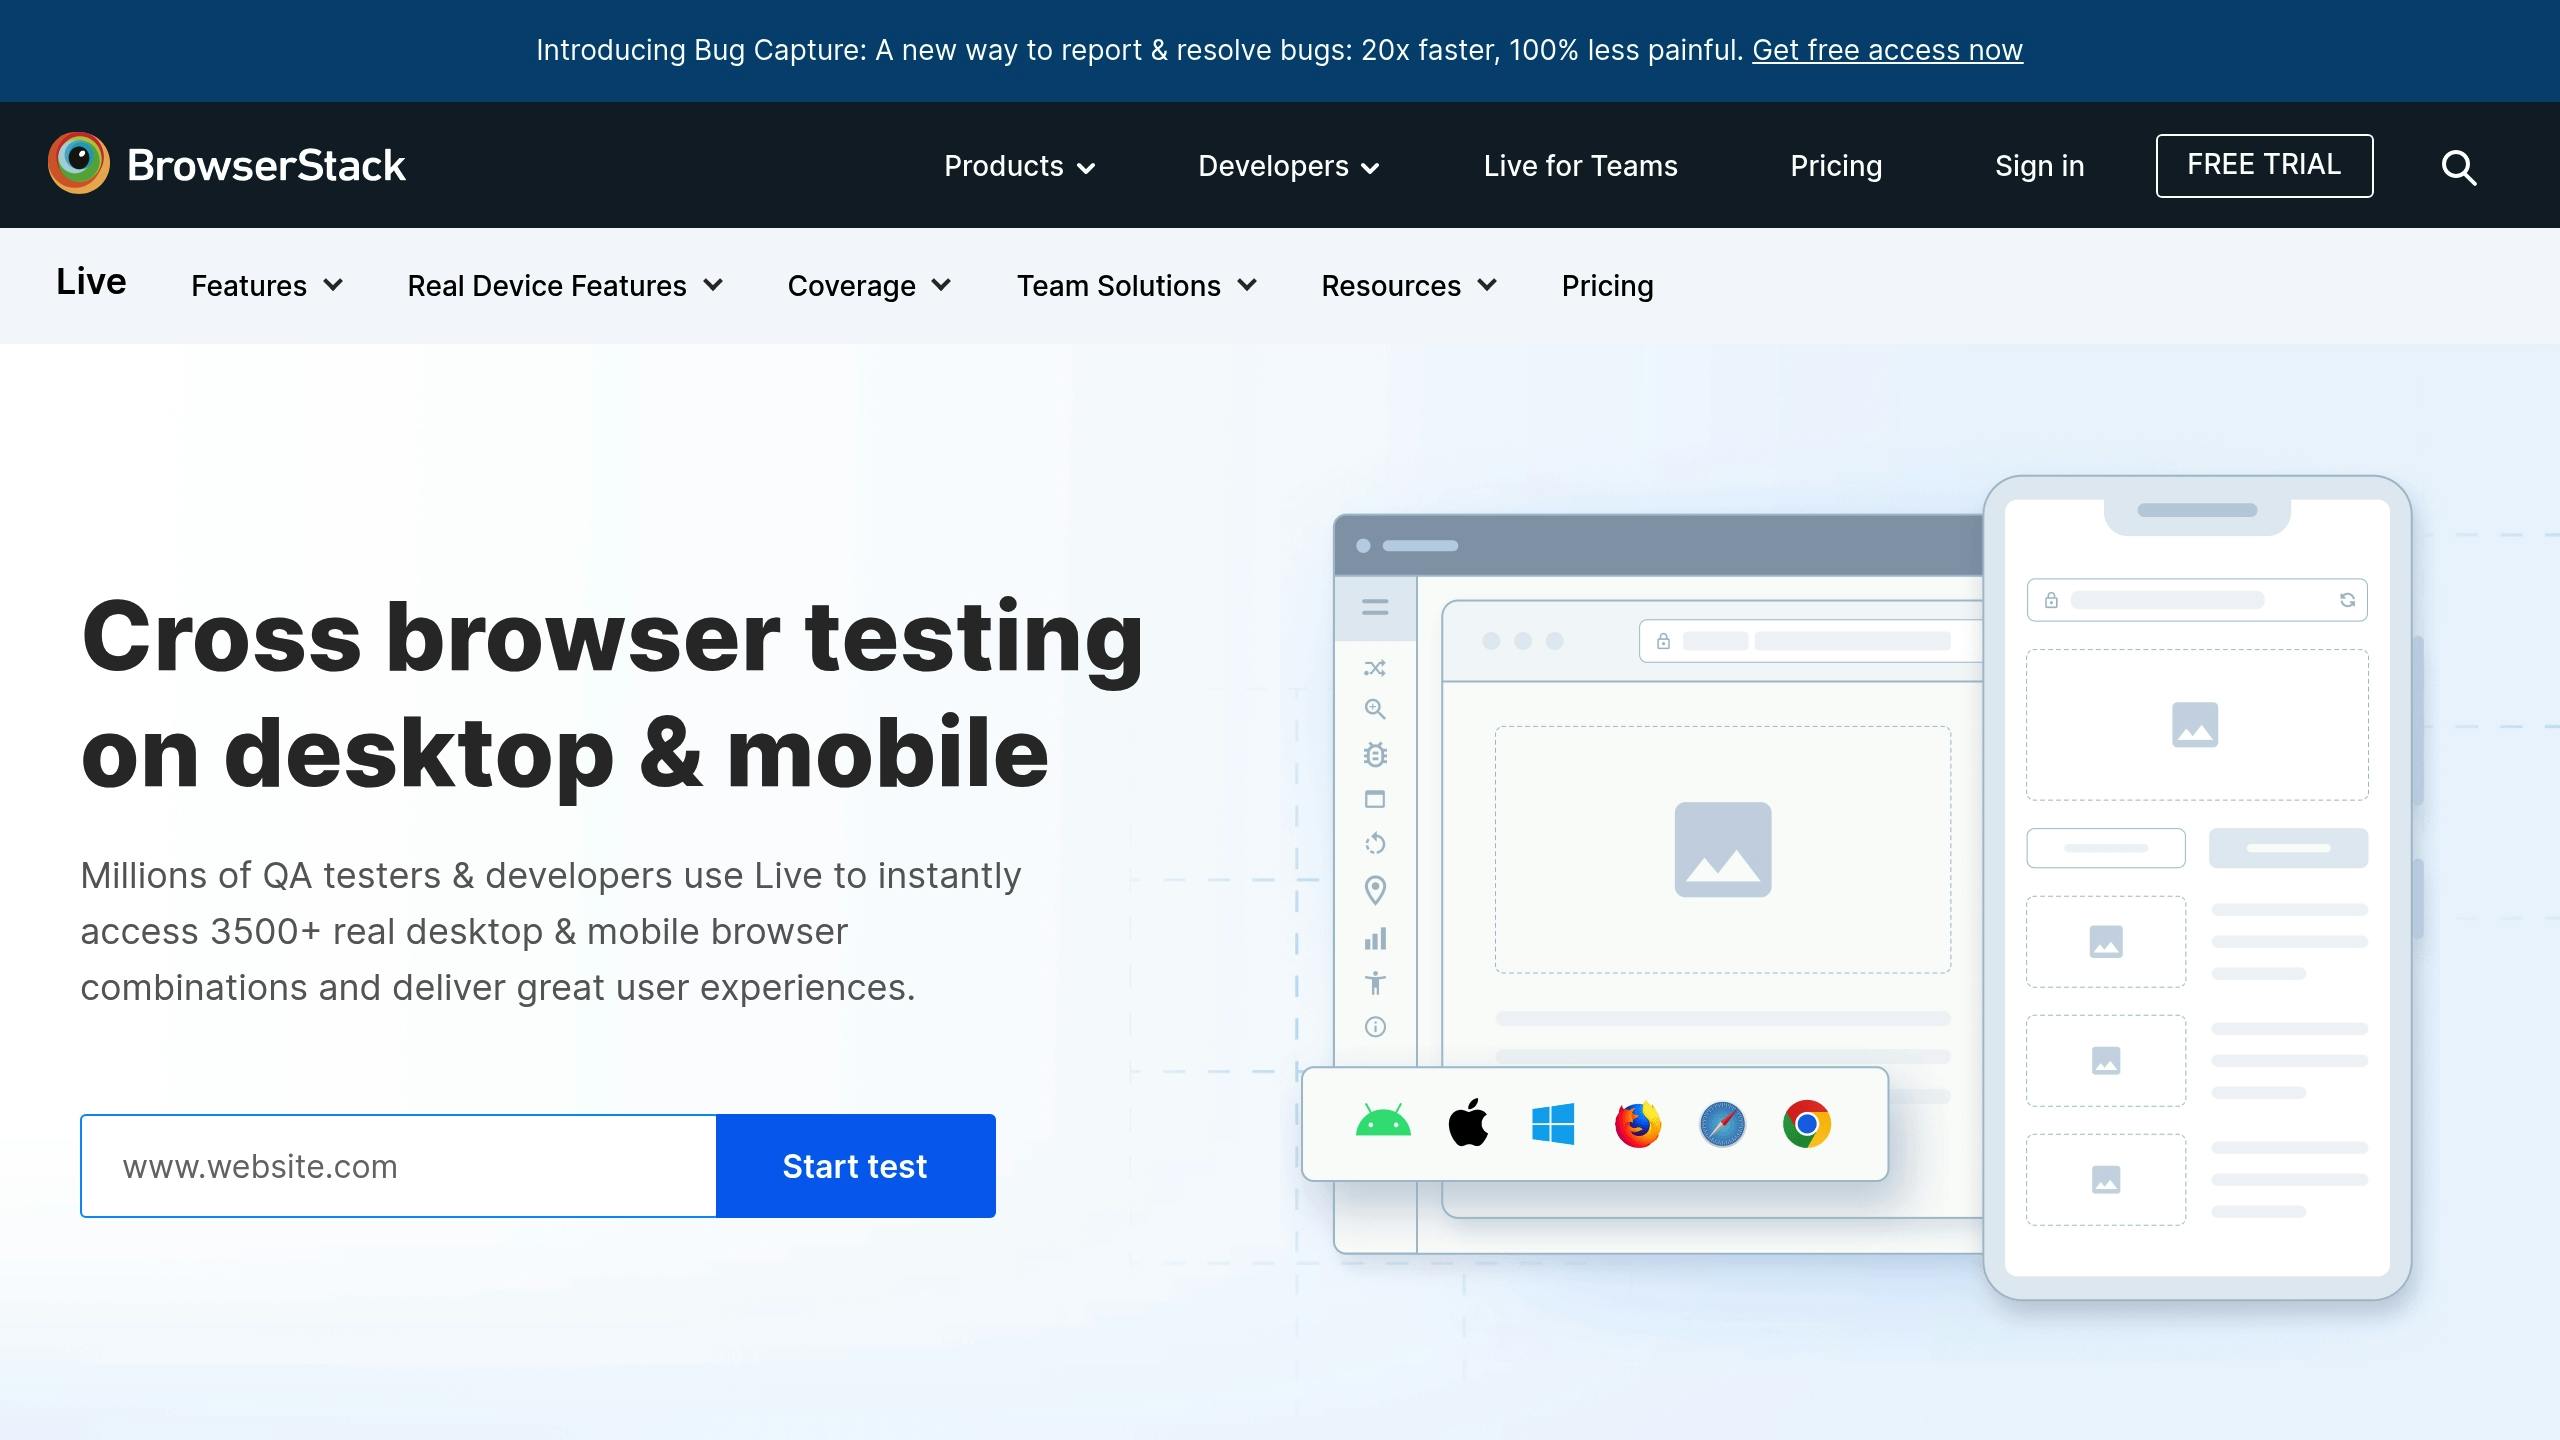
Cross browser testing with BrowserStack
Building Your Device Testing Setup
Testing SaaS apps across multiple devices requires a well-planned setup that combines physical devices and virtual tools - without breaking the bank.
Physical Devices vs. Virtual Testing Tools
Choosing between physical devices and virtual tools depends on your testing goals and budget. Here’s a breakdown to guide your decision:
| Testing Method | Advantages | Disadvantages | Best Use Cases |
|---|---|---|---|
| Physical Devices | - Tests under real-world conditions - Accurate performance insights - Genuine user experience | - Expensive - Limited device variety - Requires storage and upkeep | - Final QA - Performance benchmarks - User experience checks |
| Virtual Tools | - Budget-friendly - Covers a wide range of devices - Quick and easy to set up | - Can’t fully test hardware - May produce inconsistent results - Limited network simulation | - Early development - Responsive design testing - CI/CD workflows |
A hybrid approach works well for most SaaS teams. Begin with virtual tools during development, then validate on physical devices before major launches.
Top Device Testing Tools
Here are some of the best platforms to streamline your testing process:
-
BrowserStack
- Coverage: Access to 3,000+ real devices and browsers
- Pricing: Starts at $29/month for basic plans
- Key Features: Live testing, Selenium automation, real device cloud
-
LambdaTest
- Coverage: Over 2,000 browser and OS combinations
- Pricing: Begins at $15/month for freelancers
- Key Features: Automated screenshots, responsive design testing
-
Sauce Labs
- Coverage: 2,500+ browser and OS combinations
- Pricing: Custom quotes for enterprise plans
- Key Features: Strong security, seamless CI/CD integration
Setting Up Your Testing Environment
1. Define Your Device Matrix
Use your user analytics to determine the devices and browsers your audience uses most. Aim to cover:
- The top 5 mobile devices
- Popular desktop browsers like Chrome, Firefox, and Safari
- Key OS versions such as iOS 14+ and Android 10+
2. Configure Your Infrastructure
Equip your testing setup with:
- Device lab management tools
- Test automation frameworks like Selenium or Cypress
- CI/CD pipeline integration for streamlined workflows
3. Establish Testing Protocols
Standardize your testing process by defining:
- Test case templates
- Bug reporting systems
- Performance benchmarks
- Security testing steps
This setup ensures your device testing is organized, efficient, and effective. Use it to run focused tests that improve the quality of your SaaS product.
Running Device Tests for SaaS Apps
A consistent UI across devices builds trust and improves the user experience.
Testing UI Consistency
UI consistency testing ensures your app’s design stays responsive and visually aligned across various screen sizes. Here’s what to focus on:
- Responsive Breakpoints
Test at standard breakpoints like Mobile (320-480px), Tablet (768-1024px), and Desktop (1200-1920px). Make sure essential elements adjust properly to fit each screen size. - Visual Alignment
Check that text, images, and UI components scale proportionally while maintaining proper spacing and alignment.
These tests go hand-in-hand with broader performance and functionality checks. Use tools that simulate different screen sizes to quickly identify and fix inconsistencies. This approach helps fine-tune your overall device testing process.

Fixing Device-Specific Issues
Device-specific issues can disrupt the user experience. Identifying and resolving these problems is crucial, and using the right tools can make the process smoother.
Common Device Problems
Testing across devices often highlights these issues:
- Layout Breakage: Overlapping or misaligned elements, especially in the 768px to 1024px range.
- Touch Input Problems: Buttons or interactive elements that are too small or too close together on mobile screens.
- Performance Issues: Heavy JavaScript can slow down low-end devices.
- Browser Inconsistencies: CSS properties may behave differently on Safari for iOS compared to Chrome for Android.
Testing and Debugging Tools
Chrome DevTools Device Mode
This tool offers several features to test and debug device-specific issues:
- Toggle the device toolbar with Ctrl+Shift+M.
- Simulate slower connections using network throttling.
- Test performance on low-end devices with CPU throttling.
- Create custom device profiles for tailored testing.
Safari Web Inspector
For iOS devices, Safari Web Inspector provides:
- Remote debugging capabilities.
- Responsive design mode for layout testing.
- Network and resource monitoring.
- Inspection of Web Storage for debugging.
Once you’ve identified issues with these tools, focus on applying responsive design techniques to address them.
Responsive Design Solutions
Use these practices to improve usability across devices:
1. CSS Grid for Layouts
Adopt a mobile-first approach with CSS Grid to create flexible layouts:
.container {
  display: grid;
  grid-template-columns: repeat(auto-fit, minmax(300px, 1fr));
  gap: 1rem;
}
2. Effective Media Queries
Write media queries for key breakpoints to ensure your design adapts to various screen sizes:
/* Mobile devices */
@media screen and (max-width: 480px) {
  /* Mobile-specific styles */
}

/* Tablets */
@media screen and (min-width: 481px) and (max-width: 1024px) {
  /* Tablet-specific styles */
}

/* Desktop */
@media screen and (min-width: 1025px) {
  /* Desktop-specific styles */
}
3. Optimized Touch Targets
Ensure touch elements, like buttons, meet size guidelines for better usability:
.button {
  min-width: 44px;
  min-height: 44px;
  padding: 12px;
}
These strategies can help resolve device-specific issues and improve the overall user experience.
Long-term Device Testing Strategy
To build on a solid setup and initial testing, it’s important to develop strategies that ensure your device testing remains effective over time.
Adding Tests to CI/CD Pipeline
Integrating device tests into your CI/CD pipeline streamlines the process and ensures consistent quality checks. You can configure the pipeline to run tests simultaneously across multiple device profiles, generate detailed reports, enforce failure thresholds, and send automated notifications to developers.
GitHub Actions Example:
name: Device Testing
on: [push, pull_request]
jobs:
  test:
    runs-on: ubuntu-latest
    steps:
      - uses: actions/checkout@v2
      - name: Install dependencies
        run: npm install
      - name: Run device tests
        run: npm run test:devices
Jenkins Pipeline Example:
pipeline {
  agent any
  stages {
    stage('Device Testing') {
      steps {
        sh 'npm install'
        sh 'npm run test:devices'
      }
    }
  }
}
Using Analytics to Choose Test Devices
Leverage analytics to focus your testing on the devices that matter most. Metrics like device usage, error rates, session durations, and page load times can reveal which devices represent key user groups or where performance issues occur. This data-driven approach helps refine your testing priorities over time.
Keeping Up With New Devices
Staying current with device trends and updates is crucial. Here are some practical steps:
Monthly Device Audit:
- Check analytics for new and emerging device trends.
- Adjust your test device profiles based on updated user data.
- Ensure compatibility with the latest operating system versions.
Testing Environment Updates:
- Keep virtual device images updated for new OS releases.
- Regularly update testing tools and frameworks.
- Document device-specific issues along with their solutions.
Resource Management:
- Allocate funds for purchasing new test devices as needed.
- Retire tests for devices with minimal user activity.
- Collaborate with device testing labs to cover less common devices efficiently.
Using SaaS Boilerplates to Speed Up Development
SaaS boilerplates are a game-changer for streamlining development and testing workflows. By combining efficient setup with built-in tools for responsive design and testing, they allow teams to focus more on solving device-specific challenges rather than spending time on initial infrastructure.
Best SaaS Boilerplates

When choosing a SaaS boilerplate for cross-device testing, it’s essential to look for features that simplify testing and support a wide range of devices.
Makerkit Integration Example
”A SaaS boilerplate where you can choose your favourite tech stack combos - Next.js, Remix, Firebase, Supabase - to build unlimited SaaS products in record time. So good it feels like cheating!” - Giancarlo Buomprisco, Founder
Makerkit stands out with its pre-designed responsive UI components and built-in testing tools. It allows developers to pick the technologies that best fit their needs, making it a flexible option for cross-device testing. This combination of ready-to-use components and testing capabilities ensures smoother development for teams.
Here are some key benefits Makerkit offers for device testing:
| Feature | Benefit for Device Testing |
|---|---|
| Responsive UI Components | Ensures seamless performance across different devices |
| CI/CD Integration | Automates tests for various device profiles |
| Cross-Platform Support | Simplifies compatibility across operating systems |
| Testing Framework Integration | Works with tools like Cypress and Jest for efficient testing |
Development Time Savings
One of the biggest advantages of using SaaS boilerplates is the time saved during the initial setup. This allows teams to focus on more critical tasks, such as:
- Building detailed device test suites
- Configuring device-specific testing environments
- Enhancing responsive design features
- Performing in-depth cross-browser testing
Testing Framework Integration
Boilerplates like Supastarter and Business Class come with pre-configured testing environments that make it easier to test across devices.
”Save endless hours of development time and focus on what’s important for your customers. Get everything you need to launch your SaaS like auth, payments, i18n, mails and more.” - Jonathan Wilke, Founder
These tools enable developers to automate testing and catch potential issues early, ensuring a smoother development process and better results for cross-device compatibility.
Conclusion: Device Testing Checklist
Here’s a checklist to help ensure your SaaS application performs well across different devices.
Why Cross-Device Testing Matters
Cross-device testing plays a big role in how well your SaaS app performs in the market and how happy your users are. A solid testing plan can lead to:
- Fewer support tickets
- Better user retention
- Higher app store ratings
- Increased conversions from free trials to paid plans
The goal is to create a testing process that checks both functionality and user experience across all key devices.
Key Areas for Device Testing
Below is a checklist to guide your testing efforts:
Main Testing Areas
| Testing Focus | What to Check | What Success Looks Like |
|---|---|---|
| UI Consistency | Layout, fonts, images | No visual issues on any screen size |
| Performance | Load times, resource usage | Loads in under 3 seconds on 4G |
| Input Handling | Touch, keyboard, mouse | All inputs respond correctly |
| Network Conditions | Offline mode, slow networks | Works smoothly even in poor conditions |
Steps to Follow
- Device Selection: Focus on the top 5 devices used by 80% of your audience.
- Testing Schedule: Run automated tests daily and manual tests weekly.
- Track Performance: Keep an eye on metrics like Time to Interactive for quick problem detection.
- Document Everything: Create detailed test cases for device-specific scenarios.
Make sure to integrate these practices into your CI/CD pipeline to keep quality consistent over time.
Recommended SaaS Boilerplates
Below you’ll find three recommended SaaS boilerplates that have built-in testing tools, responsive design features, and solid UI/UX.